If you are lucky enough to have plenty of blackberries growing in the hedgerows nearby then you, like me, probably still have a freezer full of berries from picking last autumn!
As I was rapidly running out of freezer space I decided that it was time to deal with the backlog of berries and turn them into one of the most delicious preserves, Bramble Jelly.
So, if you too have berries to use up, here is how to make Bramble Jelly.
You will need:
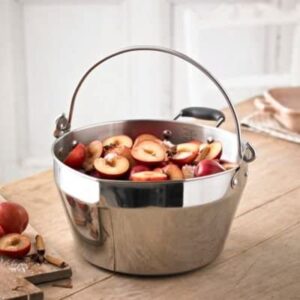
A large Preserving Pan
Muslin or a Jam Straining Set
A large bowl to catch the juice
Measuring Jug
Granulated Sugar
Wooden spoon or, better still, a brilliant Kilner Jam Making Spatula
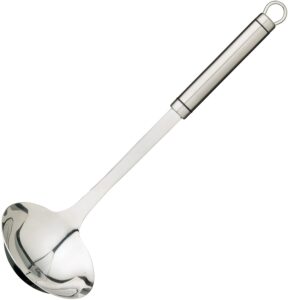
Ladle
Clean, sterilised jam jars
if you are re-using old jam jars, check out this handy hint for removing stubborn labels!
Sterilise the jars by placing them in a medium hot oven for 20-30 mins. Let them cool a little but still warm for when the hot jelly is poured in.
Put the washed and cleaned berries into a large Preserving Pan
and add lemon juice (freshly squeezed, 1 lemon to every 500g fruit).
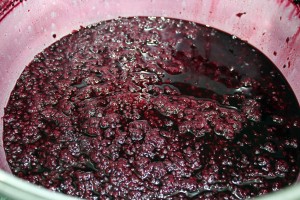
Heat gently until the juices start to run and then simmer for about an hour the extract as much juice as possible – use a potato masher if the fruit is fresh but probably no need if frozen as the berries collapse quite readily when defrosted.
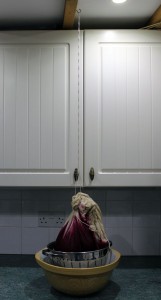
Now we need to separate the juice from the pulp, which is where your jelly bag or muslin comes in. Spoon the contents of the preserving pan into the jelly bag/muslin and hang from a hook with string to allow the juice to drip into the large bowl or if you prefer, you can use a Jam Straining Set like this, which is ideal for smaller amounts. As I had so much fruit I used about 1/2 meter of unbleached muslin that I tied at the top and suspended from a hook screwed into the beam of our kitchen ceiling! The colander is there just to support the muslin as the fruit was spooned in, it was removed when it was secured to the hook in the beam!
Now you can leave it overnight to just carry on dripping at it’s own pace – whatever you do, DO NOT squeeze the bag/muslin. If you do your jelly will be cloudy and one of the most attractive features of a home made jelly is how clear they are…so don’t do it!
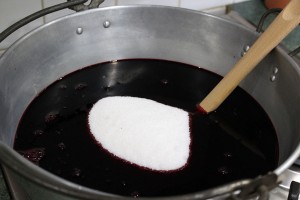
Next day, measure the juice and pour it into the preserving pan. The general rule of thumb is 1 lb sugar for every pint of juice so weigh out enough sugar and pour that into the preserving pan with the juice.
Heat very gently, so that the sugar dissolves in the juice, stirring all the time using the wooden spoon or the Kilner Jam Making Spatula – this is a fantastic tool and much better than a wooden spoon as the shape means you can get right into the edges on the pan so nothing burns and, being silicone, it is super easy to clean!
When the sugar has fully dissolved bring the mixture up to a fast rolling boil and keep it going for 15 minutes. While this is happening place a saucer into the fridge to cool to test for setting point.
I have used a thermometer before but found that it was just as easy to use this visual method-you can see and feel how the jelly will be when it has set. If you prefer the precision of a thermometer then you will need a Sugar & Jam Thermometer .
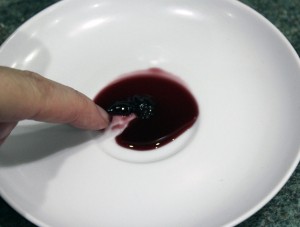
After 15 minutes, turn off the heat and carefully place a teaspoon of the jelly onto the cold saucer and place back in the fridge for 2 minutes.
Now you can see if the jelly has reached setting point. Push you finger through the jelly. If it has set the surface will wrinkle and the jelly will stay where it is. if it flows back and is still runny you will need to boil the jelly for another 5 minutes and then test again. Keep doing it until you reach a point where the jelly looks like this on the saucer (for the amount of fruit I had – I ended up with 7 pints of juice after hanging in the muslin! – I had to boil the mixture for about 40 minutes to achieve a satisfactory set).
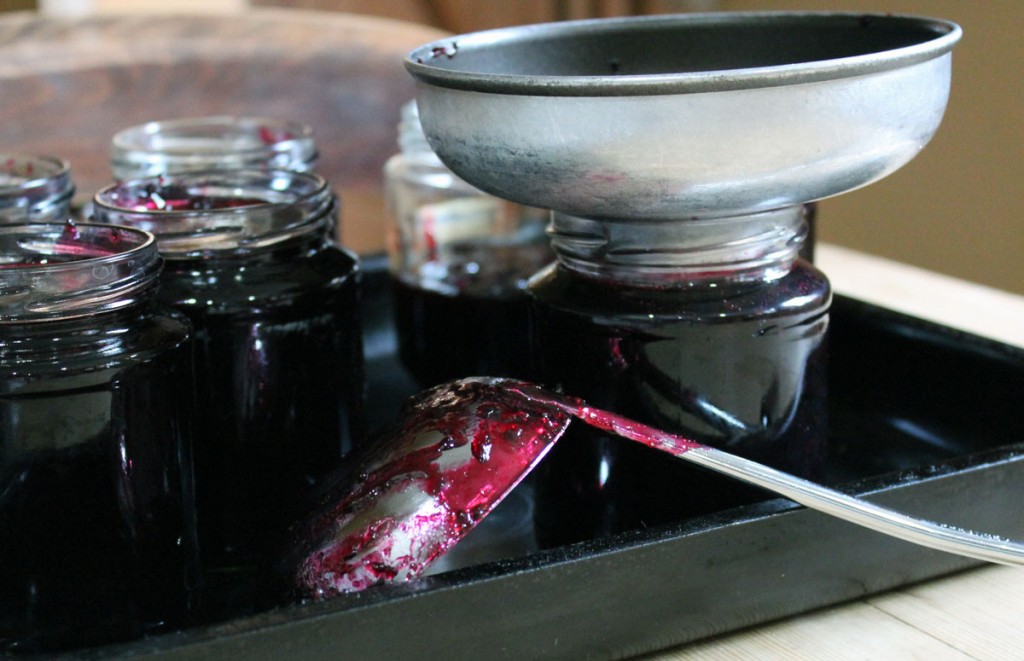
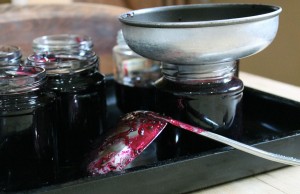
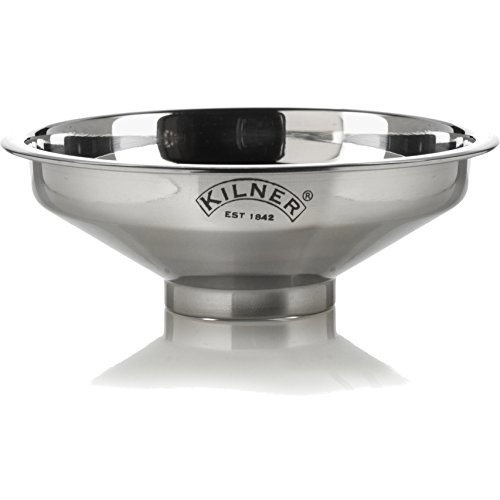
All that’s left is to spoon the jelly into your waiting jam jars. I find a ladle and a Preserve and Jam Funnel make this a very easy and not too messy job!
Seal the jars straight away with the jam jar lids or a quaint and retro way of doing it is to use Jam Pot Covers and finish off with Pretty Gingham Fabric Jam Jar Covers
.
For more information on the brilliant Kilner Jam Making Spatula >>> CLICK HERE
For more information on a great ladle >>> CLICK HERE
For more information on a great jam funnel >>> CLICK HERE
For more information on an essential preserving pan >>> CLICK HERE

I love your bramble jelly receive. It’s clear, uncomplicated……and it works!. It is wonderful to be able to spread this on hot buttered toast on a cold wet January morning! Many thanks from Patrick (71).
Hi Patrick, thanks so much for taking the time to leave a comment! I am so pleased to hear that you enjoy the Bramble Jelly recipe. Homemade preserves are a real treat and as you say not complicated at all to make. I’ll be adding more recipes for more jams and jellies in the not too distant future!