
Easy Wholemeal Bread Recipe
With the price of a loaf from the baker rising dramatically in the last few years, one of the first things we made sure we could make ourselves was a proper loaf of bread. We wanted to be able to eat good bread without having to pay the price that our local artisan baker was charging, nearly £2 a loaf.
So we set to mixing and kneading with different flours and yeasts and very soon we were baking a beautiful white loaf that wouldn’t look out of place in the bakers window but when it came to a wholemeal loaf we just could not get the dough to rise as well as the white bread and it was always heavy and not at all what we wanted to eat.
Well, we at The Thrifty Squirrels are not easily defeated so we continued experimenting until we produced a light and tasty pure wholemeal loaf and refined the recipe until the results were consistent and every loaf was just how we expected it to be.
And now, here it is, The Thrifty Squirrels Easy Wholemeal Bread Recipe, a great loaf of bread at less than half the cost of a bakers loaf!
Ingredients

- 350g lukewarm water
- 8g salt
- 1 teaspoon malt extract (or light soft brown sugar but malt extract gives a lovely flavour)
- 500g extra strong wholemeal bread flour (also called Premium bread flour)
- ½ teaspoon Vitamin C
powder (Its not essential but do try it as it does give the yeast a boost for a much lighter loaf)
- 10g easy-blend fast action yeast
- 1 tablespoon vegetable oil (or light olive oil if you prefer)
Make your loaf
Put the water into a large mixing bowl with the salt and malt extract and mix to dissolve them. Next, add the flour on top of the water but don’t mix it in yet, just let it sit on the top.
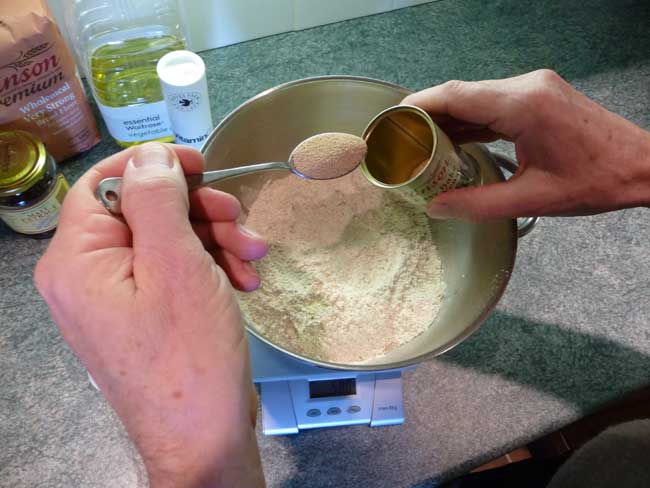
Sprinkle in the yeast and lightly mix it into the flour followed by the vitamin C powder. Finally add the oil then mix the whole lot together until it forms the dough. At this point it will look sticky and messy but don’t worry, it will soon come together!
Kneading
This has to be the most important stage of making bread but if you put on some good music it’ll be done before you know it! What kneading does is stretch the dough so that strands of gluten develop. These are like elastic bands in the dough and the more developed the gluten is the better because it makes a stronger dough. The dough needs to be strong as when the yeast starts to multiply it gives of carbon dioxide gas and a strong dough with lots of well developed gluten can easily stretch like a balloon, holding in all of the gas and giving us a well risen and light loaf of bread.
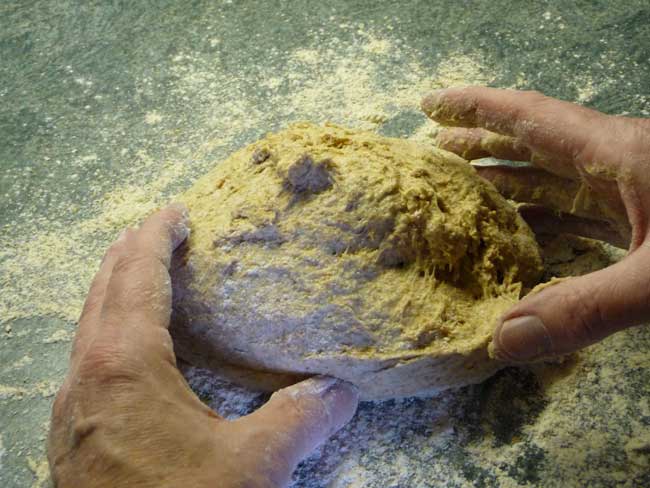
Hold the dough in place with one hand then use the heel of your other hand to push and stretch the dough away from you. Fold the dough back onto itself, give it a quarter turn then push and stretch the dough away from you again. Continue like this for at least 10 minutes until the dough is nicely smooth and elastic. You may need to add a little flour to the work surface if the dough sticks too much but try not to add lots of flour as it will dry out your dough. If you work quickly and keep the dough moving, it won’t stick anywhere near as much!
Of course, if you have a food mixer with a dough hook then you can use that to mix and knead the dough for you. Put all of the ingredients into the mixer’s bowl in the same order as before and allow the mixer to bring the dough together on the slowest speed. When there are no dry bits left turn up the speed a little and leave the mixer to knead the dough for about 12 minutes. When it has finished, turn out the dough and knead by hand for a couple of minutes.
Shaping the dough
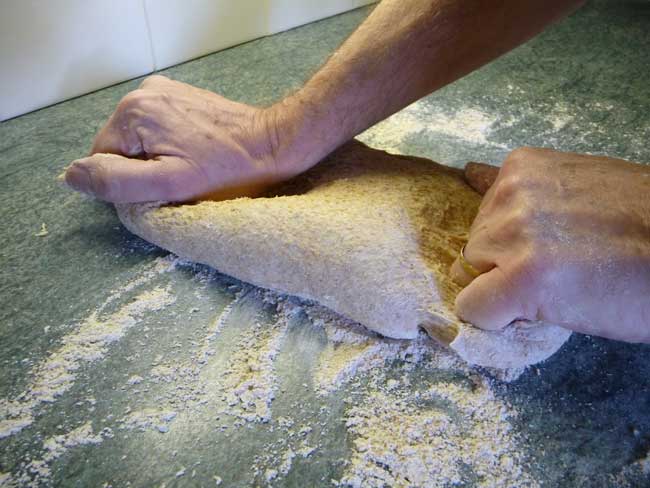
Now we have to make the dough fit into the tin. Flatten out the dough into a rectangle the same width as your tin. Fold over one long edge to the middle and press down.
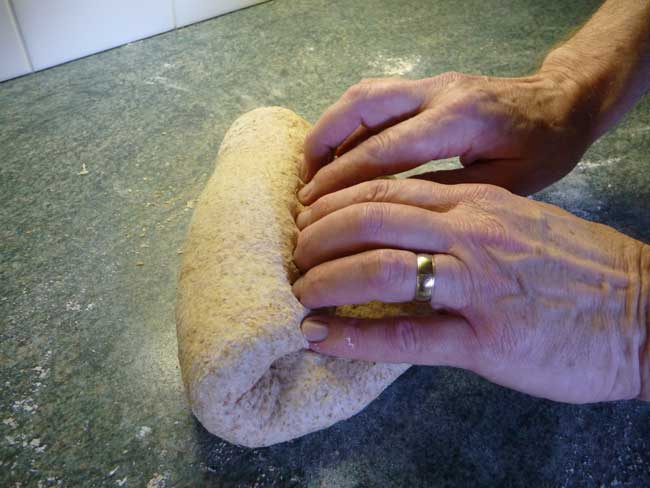
Now bring the other egde over so that you form the dough into a roll.
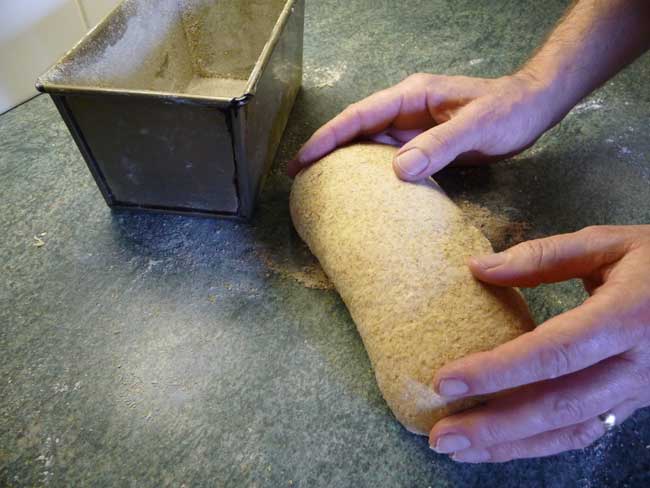
The dough is now ready to pop into your prepared tin. You will need a 2lb loaf tin
tin to make one loaf or 2 smaller tins to make 2 loaves from this recipe. To stop the bread from sticking to the tin it needs to be oiled and floured. Use a pastry brush to spread vegetable oil all over the inside of the tin.
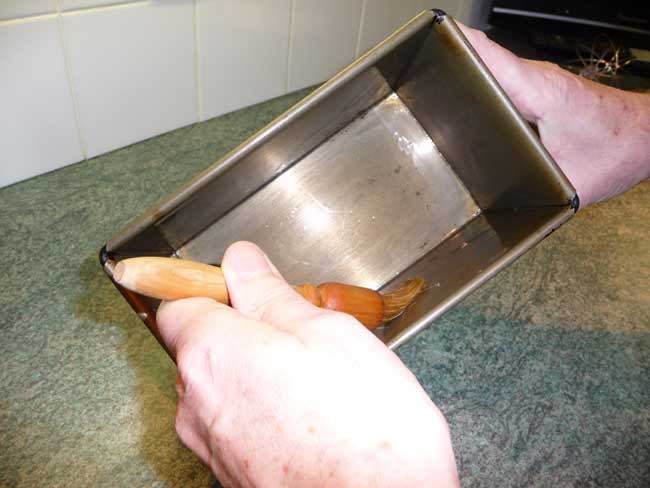
Then tip in some flour and tap the tin while at the same time turning it so that the flour sticks to the oil.

Gently place your dough into the tin and you can now leave it somewhere warm to rise.

Cover the tin with a damp tea towel or oiled cling film to stop the surface drying out and leave for about 1 to 1½ hours until the dough has doubled in size.

This is how it should look when it is ready to go into the oven.
Baking you loaf
Preheat you oven to it’s hottest temperature (gas 9 for our oven). When its really hot, carefully place the tin onto the middle shelf and bake it for 10 minutes. Turn the oven temperature down after the initial 10 minutes to gas 6 and continue to bake your loaf for another 20 minutes. The bread can now be turned out of the tin (run a pallette knife around the edges to make sure it hasn’t stuck) then pop it back in the oven for another 10 minutes to finish baking. It’s a good idea to turn the bread from time to time during the baking so that it cooks evenly.
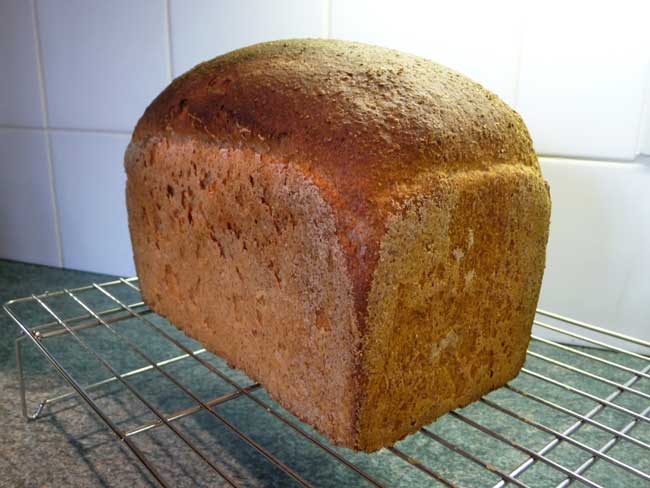
Allow the bread to cool on a wire rack before slicing and enjoying with some lovely homemade butter!
Let us know how your loaf turns out!
Without a doubt, this is my favourite loaf tin…
For great results every time you really do need to invest in good quality cookware. These loaf tins will last a lifetime as they won’t rust. Great even baking with no sticking…I can thoroughly recommend these tins.
