…Well, 2 tins of paint anyway!
Last year, just after Christmas when all of the sale adverts were bombarding us with great offers for brand new kitchens, I must admit I was very tempted to rip out our old kitchen and invest a few thousand pounds in a new one.
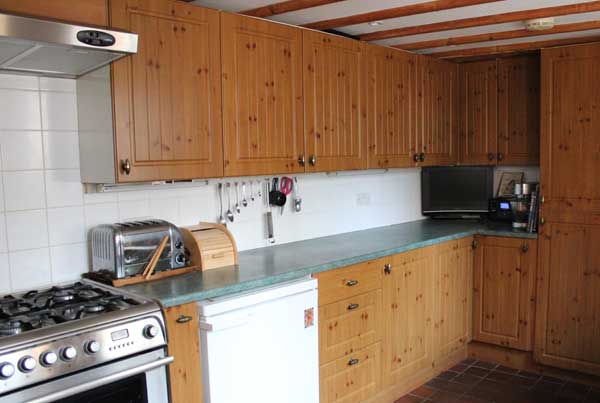
When I started looking into it further though, I realised that unless I was willing to spend £10,000+ on a handmade solid wood kitchen, then all I would get for my money is basically what I have already got, laminated chipboard cabinets just with different doors…and I actually like the doors we have anyway!
So, after a quick chat with the paint expert at our local trade decorating centre to get some very welcome advice, we decided that keeping our perfectly serviceable kitchen and giving it a makeover was not only a viable option but actually a much preferable one as not only could I choose to paint the cabinets any colour I wanted, I would save an awful lot of money in the process and I would not have to throw away a perfectly good set of kitchen cabinets.
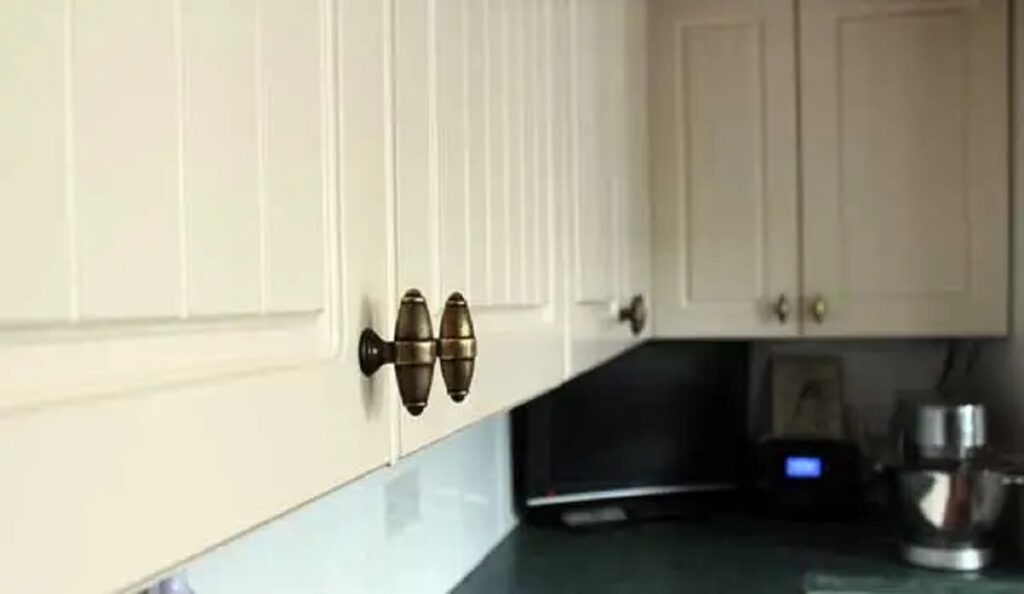
Now, it was pretty clear from the start that this was not going to be a quick job! Choosing the right colour would have to be given careful thought, we didn’t want to have to do it all again if we didn’t like the colour! I decided in the end on a simple creamy colour called Vanilla Mist (mixed from the Dulux Trade counter) in an eggshell finish as I didn’t want the cabinets to be overly shiny.
For a really resilient paint finish that would last for years, preparation was the main key to success. The cabinets had been in use for over 10 years so inevitably they would need to be thoroughly cleaned and de-greased before any paint was applied.
The doors were taken off the cabinets and it quickly became clear that we needed to mark each one so that we could put them back in the same place! They were then cleaned with hot water and Sugar Soap . This is a thorough cleaner that will take away any traces of dirt and grease from finger prints etc. The surface was then gently sanded to provide a ‘key’ for the first layer of paint, which was a primer.
As the cabinets were covered in a plastic wood effect laminate, they had to be primed with a special primer that would grip onto the surface, providing the top layers of paint with a good surface to bond to.
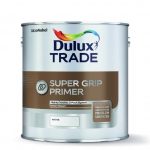
This special primer is called Super Grip Primer, again from the Dulux Trade range. It is a bit more expensive than a normal undercoat but it is totally different…with this primer you can paint almost anything (ceramic tiles or glass even), adding your chosen top coat of paint in any colour and finish that you desire!
So, to recap, the doors have been removed from the cabinets, cleaned and sanded and now painted with one coat of Super Grip Primer.
Once the primer was dry, we could start painting with the Vanilla Mist top coat. This is where it started to take a little bit of time as the paint was going to need 12-16 hours to dry between coats.
For the finest finish, we used some fine wet and dry sandpaper with some water to smooth down the paint between each coat. This made a huge difference to the finish so was well worth the small extra effort.
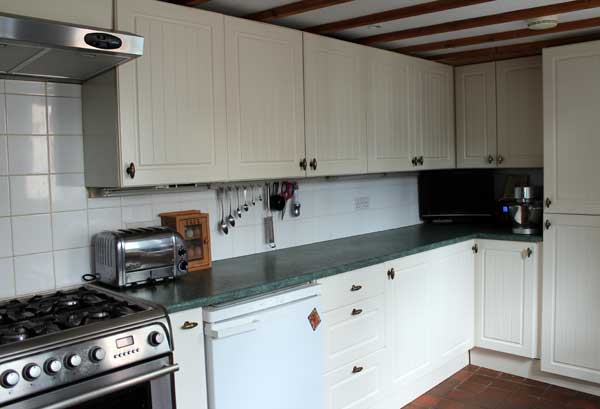
All together we had to apply three coats of the eggshell paint to give a good colour. This may have been because we were applying a very light colour over a fairly dark colour.
While the paint on the doors was drying we turned our attention to painting the cabinets themselves. Fortunately for us, the cabinets were actually already white so in the end, we decided that they could be left as they were except for the end panels that would need to be painted.
Exactly the same procedure was followed as we did for the doors, cleaning, sanding, priming and finally 3 coats of the Vanilla Mist eggshell paint.
All in all, it took about a week to finish the painting but it was so worth the effort and small disruption to the kitchen! It really feels like a brand new kitchen but for a fraction of the cost of a new one.
You may have noticed that I started this post by saying that all of this happened last year. So why wait all this time to write a blog post about it? Well, I really wanted to be sure that painting kitchen cabinets would really work. It wouldn’t be worth going to all that trouble and effort if the paint was chipping off and flaking through everyday wear after a few months!
It’s been a whole year since we finished painting our kitchen and I am really happy to say it still looks as good as it did when we finished it. The paint is showing no signs of distress at all thanks to the careful preparation of the surface and using the Super Grip Primer, quite honestly you would be hard pushed to know that they had been hand painted.
The beauty of painting your own kitchen cabinets is that you can make them look exactly as you want…you want bright pink cupboards? not a problem, every door could be a different colour if you want…it’s entirely your choice!
Super Grip Primer will ensure success.